
Picture this:
You’ve finally bought the sound system of your dreams. You’re ready to listen to your favorite albums in style and help set the mood in your home. You set it up. It looks beautiful. You go to plug it in, and…
…realize there is no wall outlet.
Many homeowners face the challenge of needing more electrical outlets than their space has to offer. This can be frustrating when designing a room and force homeowners into using solutions like extension cords, which are bulky and unattractive.
If you’ve been wishing that your home had more outlets available to you or that your outlets were updated, you aren’t alone. The good news? This is a project you can easily DIY!
Many people are intimidated at the thought of doing their own electrical work, but we are here to tell you that when you’re armed with knowledge, there’s nothing to fear. If you’re looking to learn how to wire an outlet, you’ve come to the right place. We’ll be breaking down:
- The gear you need
- The benefits of wiring a new outlet
- The steps to take to safely wire an outlet
Ready to get started? Read on to find out everything you need to know!
Reasons to Wire an Outlet
Why not just stick with your handy dandy extension cord? It works well enough.
The truth is there are lots of benefits to wiring a new outlet, including:
- Safety – Extension cords may be convenient, but when it comes to safety, they are less than optimal. Extension cords have a tendency to overheat, which makes them a dangerous fire hazard.
- Compatible with Modern Appliances – Older outlets often can’t keep up with the power demand required for most modern appliances. Adding a new outlet will help you to support any future appliances you may need to plug in.
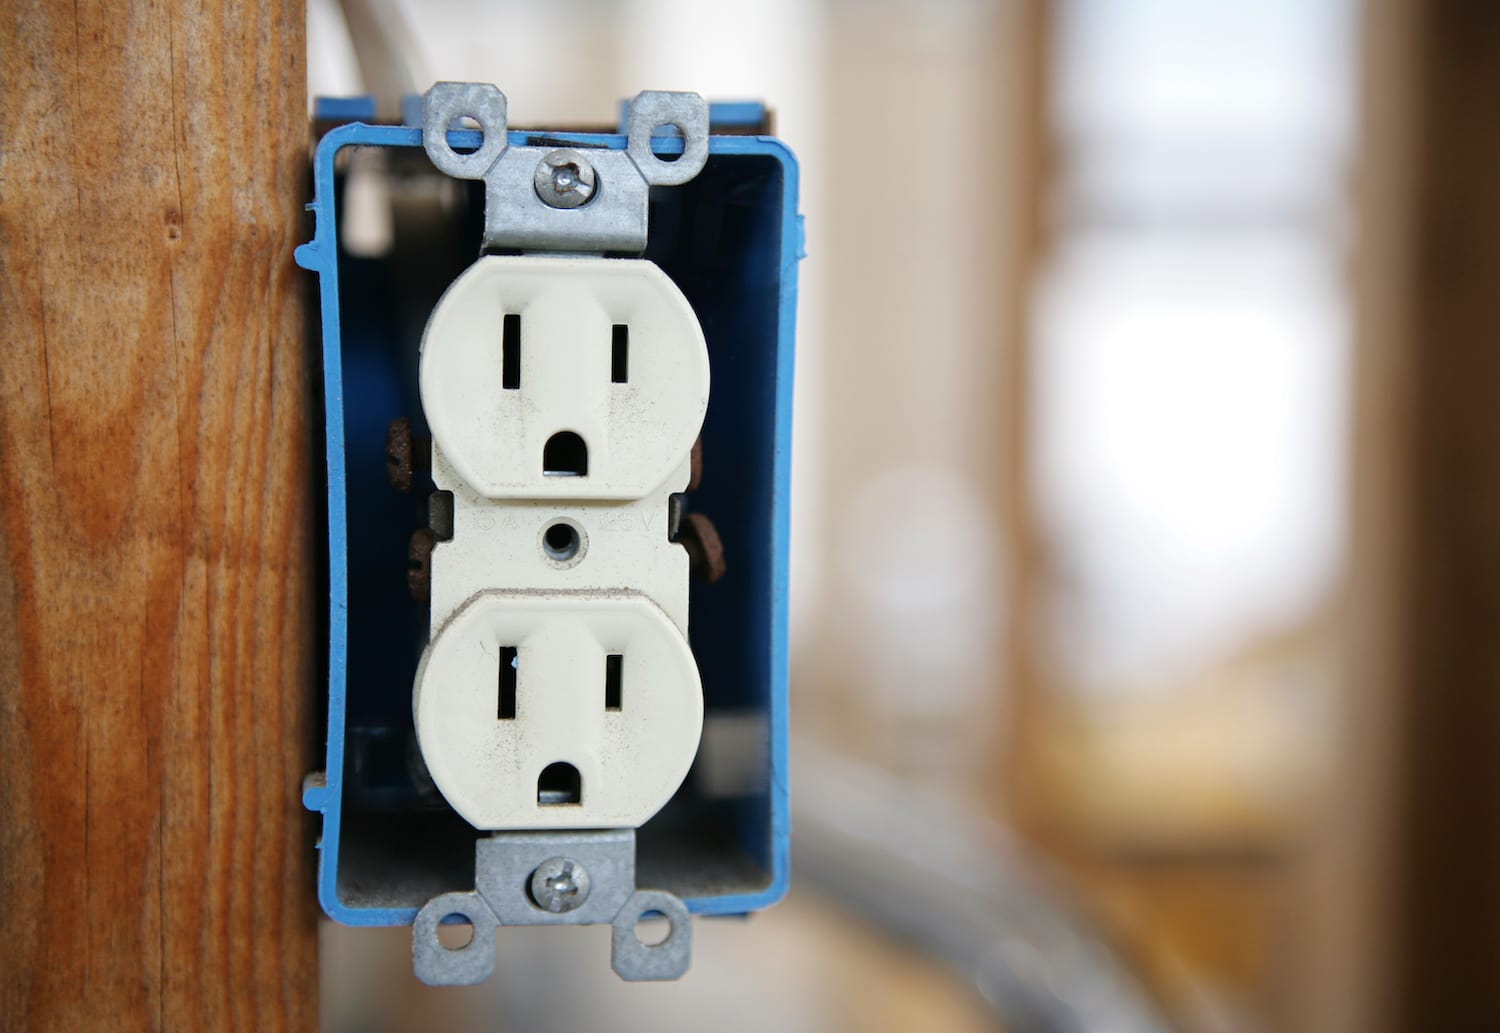
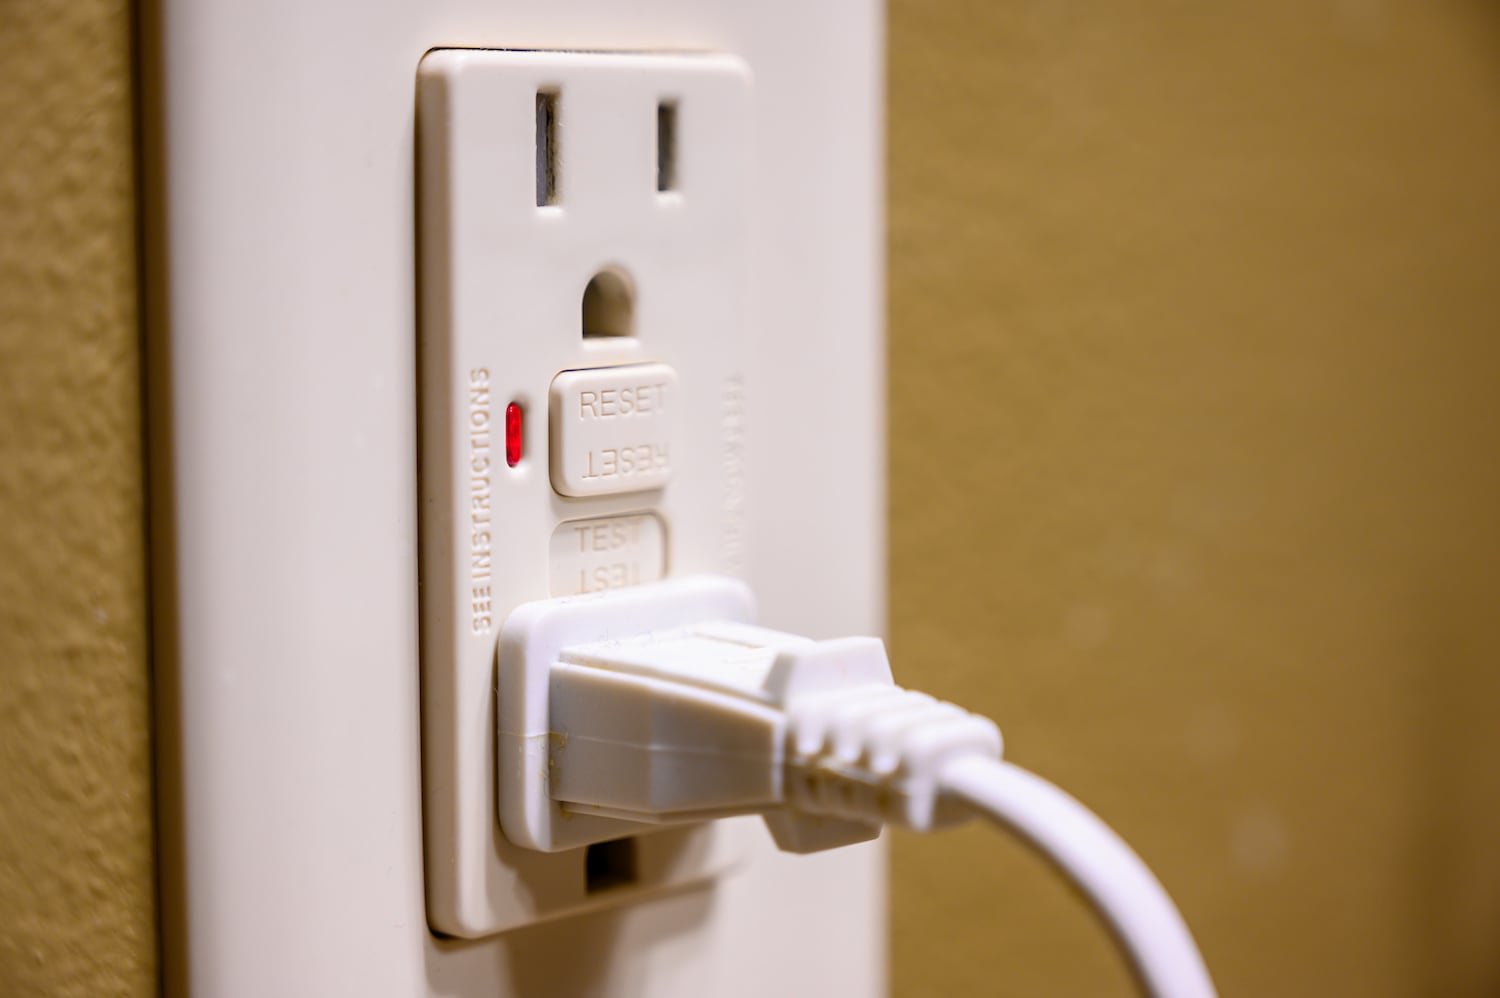
- Updated Outlets – If you live in an older home, it’s possible that you have to deal with a lot of two-pronged outlets. You can kiss your outlet adaptors goodbye when you wire a new electrical outlet! By installing a modern, 3-prong outlet box, you’ll have an outlet that is compatible with your electronics
- Eliminate Clutter – Stretching cords across the room, or using extension cords can create a tripping hazard, as well creating a visually unappealing space. Adding a new electrical outlet will help keep your space looking clean and put together.
What Tools Will You Need?
Before beginning your wiring journey, you need to make sure you have the right supplies. Here are some of the key tools you’ll need for the project.
- Voltage tester
- Drywall saw
- Wire connectors
- Wire strippers
- Needle nose pliers
- Screwdrivers
- Electrical cable
- Outlet receptacle
- Cover plate
- Stud finder
What to Know Before You Start
When it comes to working with electricity, it’s important to make sure you understand the basic principles of working with your home’s electrical system. We recommend taking some time to watch videos like the one below to help you feel confident before beginning your work.
Remember, it’s always better to be safe rather than sorry! If you are feeling unsure, we recommend consulting with a professional electrician before beginning.
6 Steps to Wiring an Outlet
Ready to learn how to wire an outlet? Here are the six steps you need to follow.
1) Be Safe
Safety first! Before beginning your outlet wiring process, be sure to turn off all electricity in the room by flipping the corresponding switch in your breaker box. Not sure if you hit the right switch? Use your voltage tester to test the other outlets in the room.
If you are installing a new outlet, you are going to need to take your stud finder to the wall where you want to add your new outlet. You can place your new outlet anywhere between two studs.
Take your new electrical box, and trace around it where you would like your outlet to be on the wall. You can then cut out that shape with your drywall saw.
2) Prepare and Feed Cables
The next step is to prepare and feed your cables through the back and sides of the electrical box. In general, you want roughly six to seven inches of cable to be fed through the box. If your wires are too long, we suggest trimming them down with a wire cutter. Likewise, you only want 6-7 inches to extend out of the electrical box. Again, if there is excess wire, you can trim them.
3) Strip Wires
After your wires have been fed into the box, it is time to strip them. Using a utility knife, remove about 1/2 inch of the plastic coating from the exterior of the wire. If you are replacing outlet wiring from an old outlet, make sure that the interior wire is not frayed or singed. If it is, trim it back until you have a fresh start.
4) Connect Wires
Next, you’ll need to connect the wires via a wire connector. When doing this, it is important to follow the manufacturer’s instructions in order to ensure a safe, effective connection. This may require you to further strip the wires.
The wire connector will attach the pigtail wires to the ground wires. Pigtail wires will typically be copper wire, which may be bare or have a green coating.
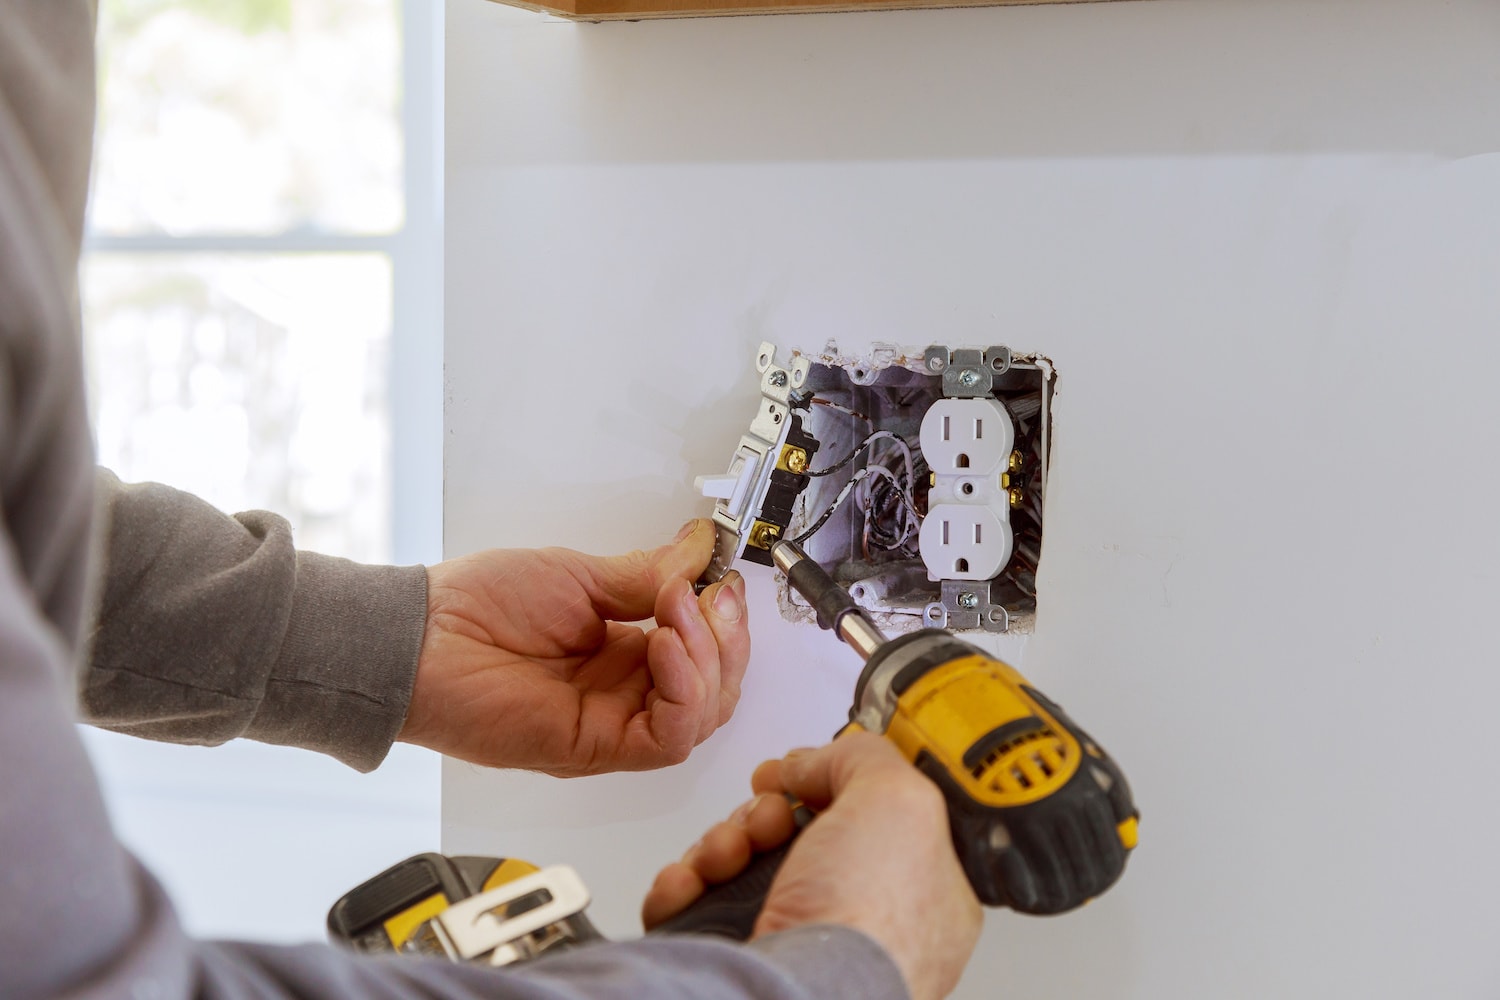
5) Attach Receptacle
You are now able to connect the wires to your receptacle circuit. Use a pair of pliers to attach the ground wire to the ground screw (this will be a green screw), the white neutral wire to a silver screw, and the black wire to a gold screw.
Once this is done, you will be able to screw the receptacle into your wall.
6) Install Cover Plate
Lastly, you can screw in your cover plate to give your new outlet a polished, finished look!
Feeling Nervous? Let the Pros Handle it.
Still feeling less than confident? It’s time to talk with a professional. At Homeworx, we know that it is the little projects that make a big difference to your home. That’s why we offer handyman services, to help you with projects both big and small. Contact us today to receive a free estimate on your electrical projects!


0 Comments