Want to take on a DIY bathroom remodel project? It’s not an easy job, but with a little experience under your belt and some hard work, you should be able to take it on.
We’re here to help you with this step-by-step guide on how to remodel a bathroom and give your space a facelift! We’ll also include some design and decorating ideas to help get the ball rolling.
Start With a Design Plan
The first step to any successful DIY project is to have a plan. This will help you stay organized and on track throughout the entire process.
Start by considering what you want to change about your bathroom. Are you looking for a complete overhaul or just a few minor changes? Once you know your goals, start browsing through magazines, Pinterest, and other places for inspiration.
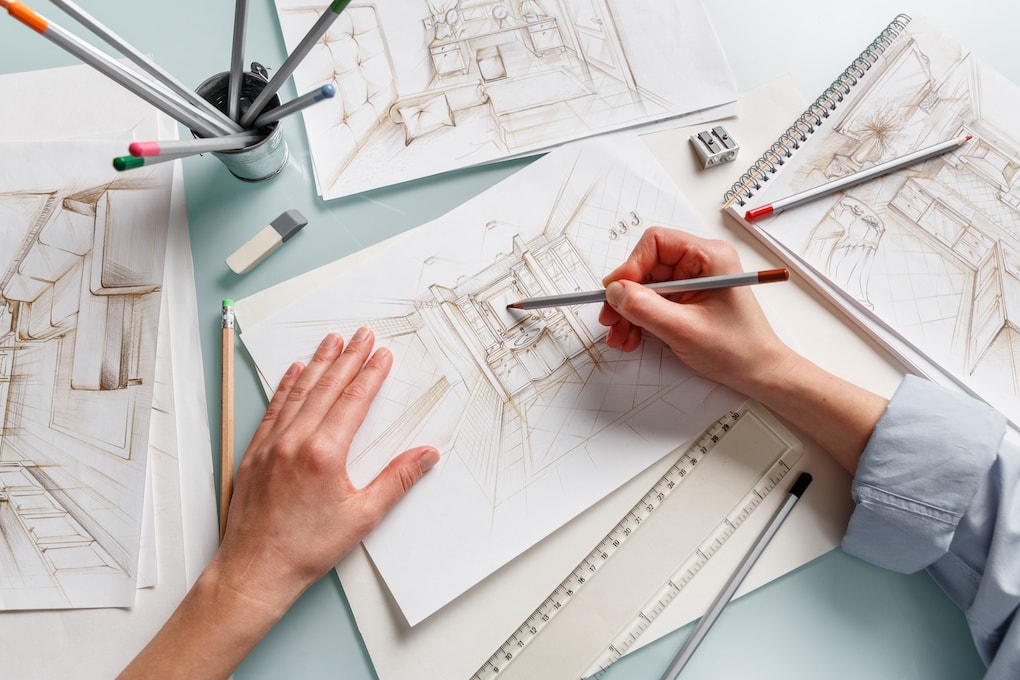
Find Inspiration: Pinterest, Pictures, Other Homes
After you have an idea of what your design will look like, it’s time to start gathering some inspiration. This will help you narrow down your options and decide on the final design of your bathroom.
Pinterest, pictures on builder websites, and other homes are great places to gather more useful inspiration.
Start Choosing Materials, Colors, and Design Styles
You’ve got your design and you’re feeling inspired; it’s time to start creating a mood board and choosing the materials and colors you will use for the project.
This is where you’ll start to see your vision come to life.
Choose the Appropriate Materials
Choosing materials might seem easy, but you need to decide on quite a few different options. Here’s a breakdown of some of the most important materials to start thinking about:
-
- Flooring Material: tile, vinyl, wood
- Vanity Style: wood, painted
- Countertop Material: granite, quartz, marble
- Faucet and Sink
- Backsplash Material: tile, stone, glass
- Light Fixture Options
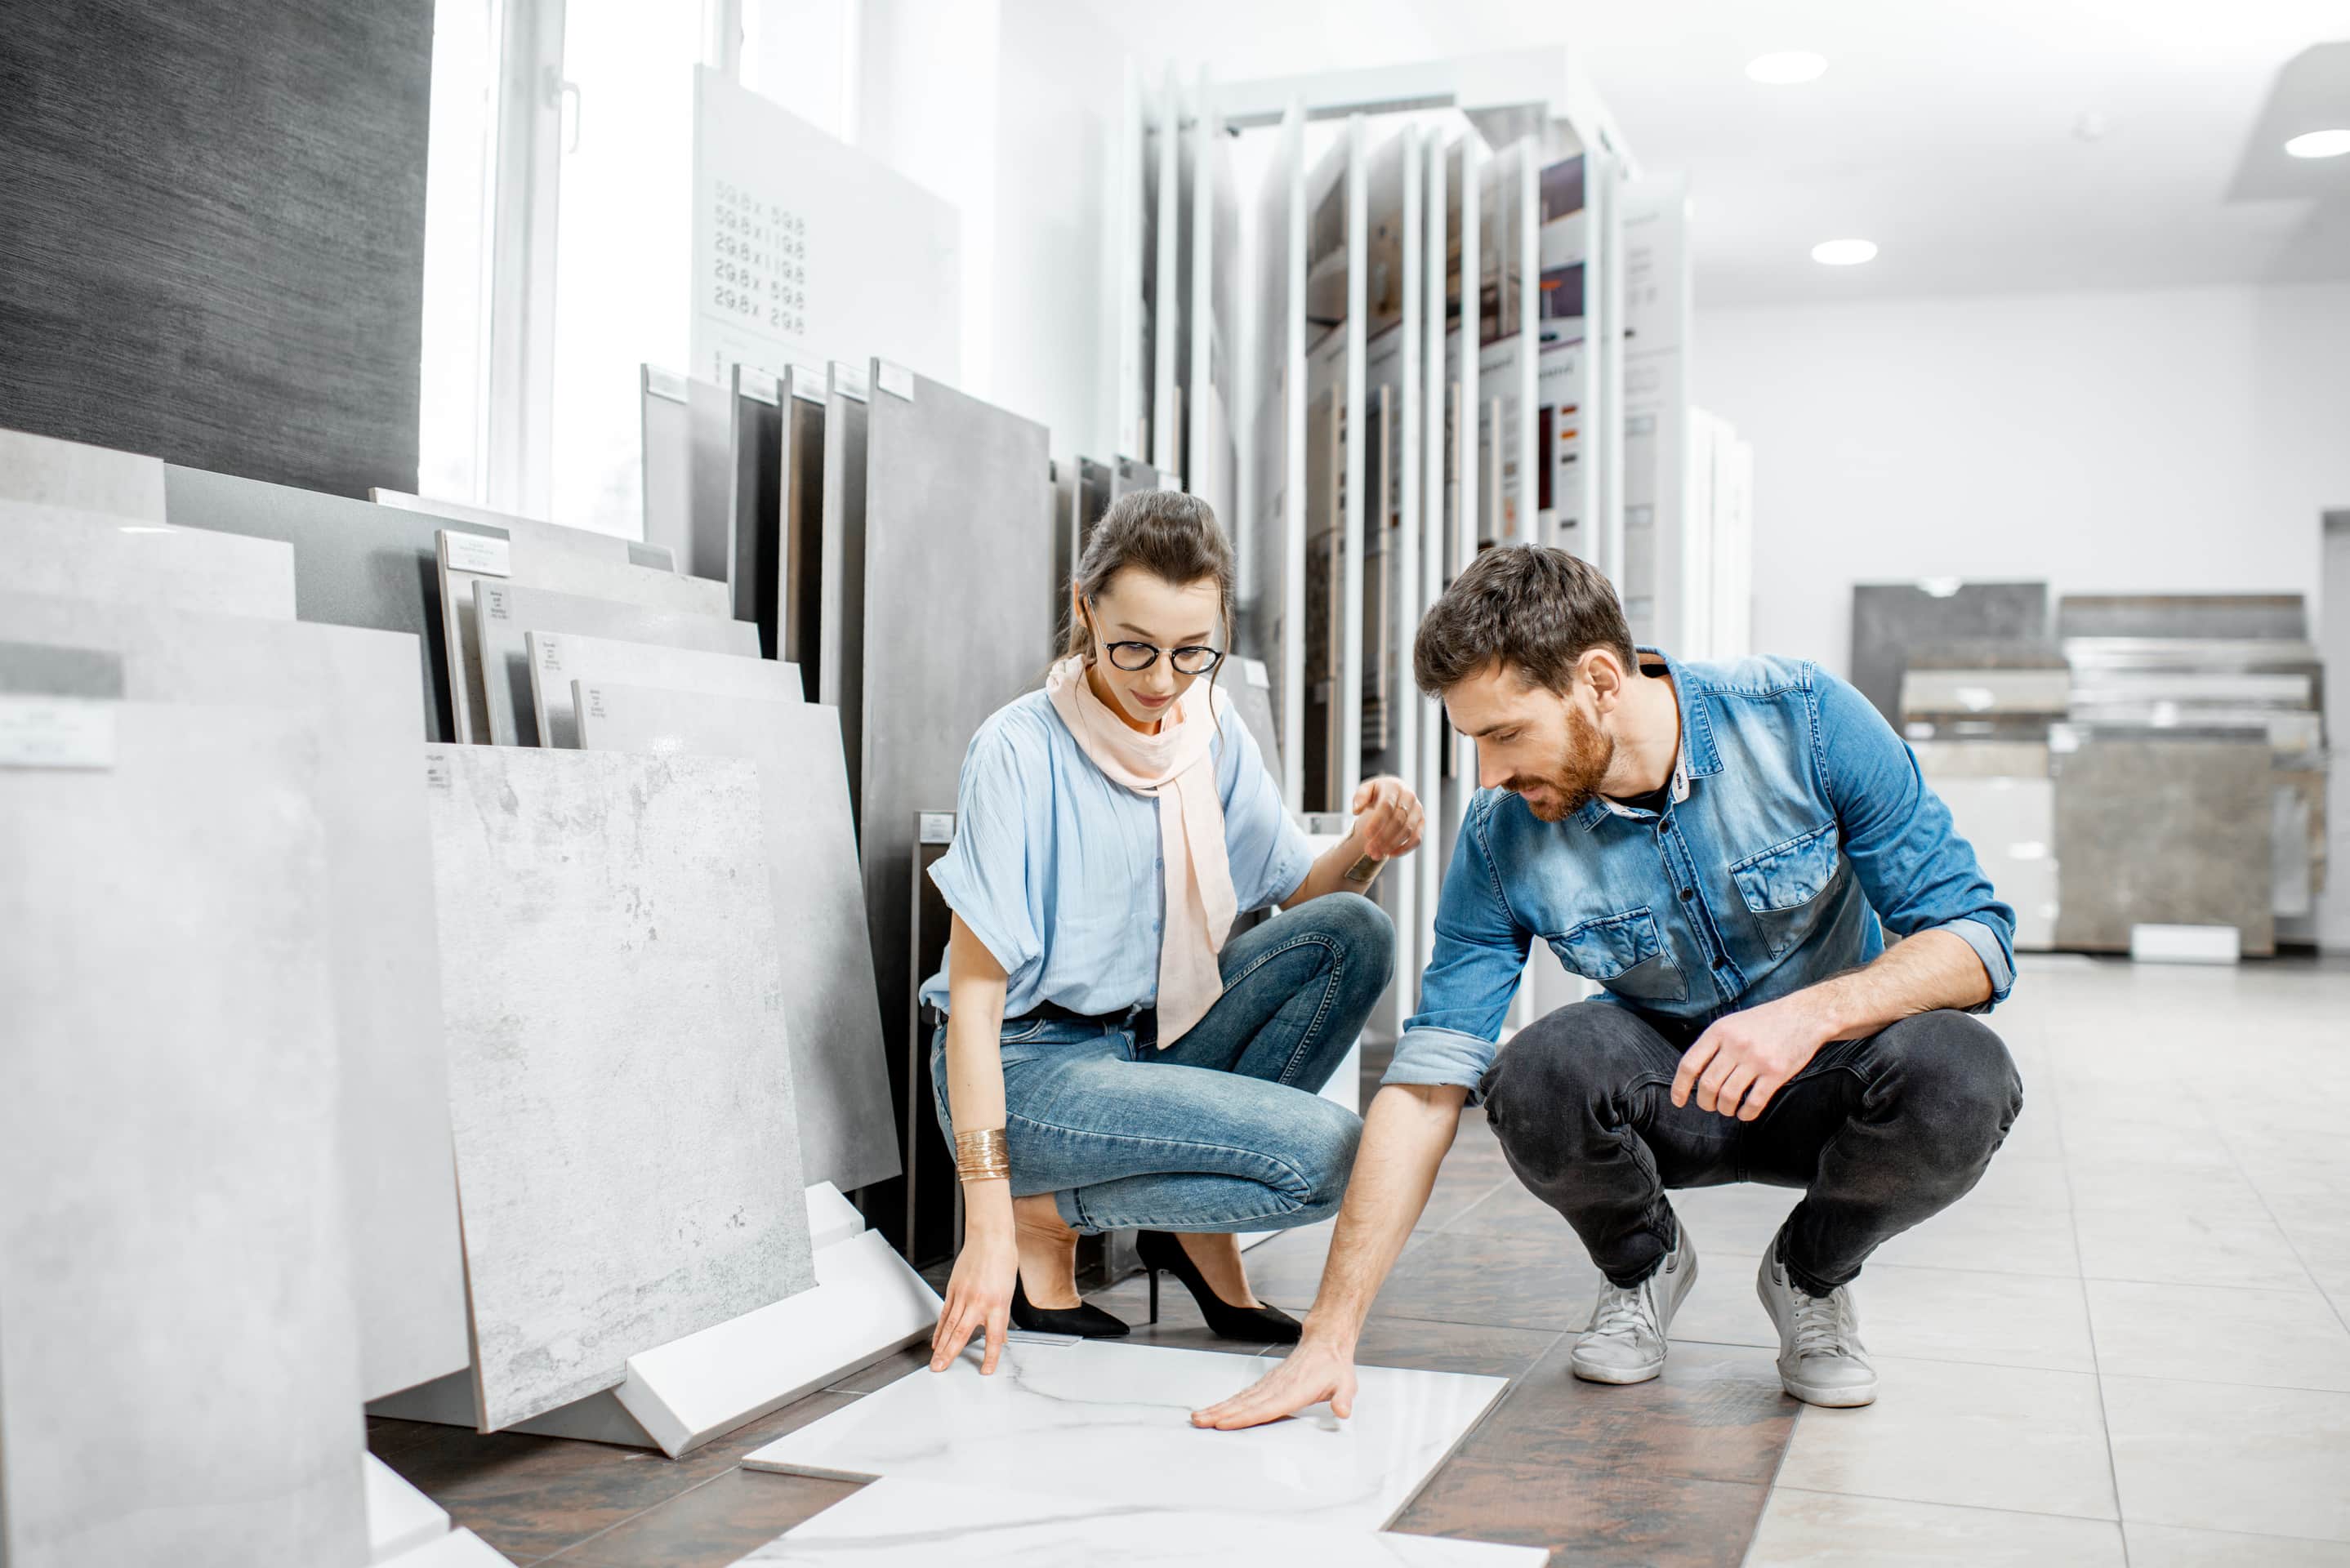
Decide on a Color Scheme
It’s time to start thinking about color. Decide on a color scheme that will complement the overall design of your bathroom.
The paint you choose will have a big impact on the room’s overall look, so take your time and choose a color that you’ll be happy with for years to come.
Start Looking for Decor and Accessories
Now that the big decisions are out of the way, it’s time to start shopping for accessories and decor. This is a great opportunity to determine what your style will be like. Be on the lookout throughout the entire process.
Determine Your Budget and Financing: How Much Will It Cost?
Next, you can determine your budget. This will help you narrow down your selections and help ensure you don’t overspend.
You also need to think about how you’re going to finance your bathroom remodel. Are you going to pay for it in cash, or will you need to take out a loan?
Try using a bathroom remodeling calculator if you’re unsure how much your bathroom will cost. This will give you an estimate of the total project cost.
Gather the Tools Needed for the Project
Next, you need to gather the tools needed for the project. This will help make the process smoother and ensure that you have everything you need.
Some of the basic tools you’ll need are:
- Metal Trowel
- Brush
- Utility Knife
- Paint Brushes
- Caulking Gun
- Paint Scrapers
- Sand Paper
- Safety Goggles
- Plumbing wrench
- Pencil
- Screw Guns
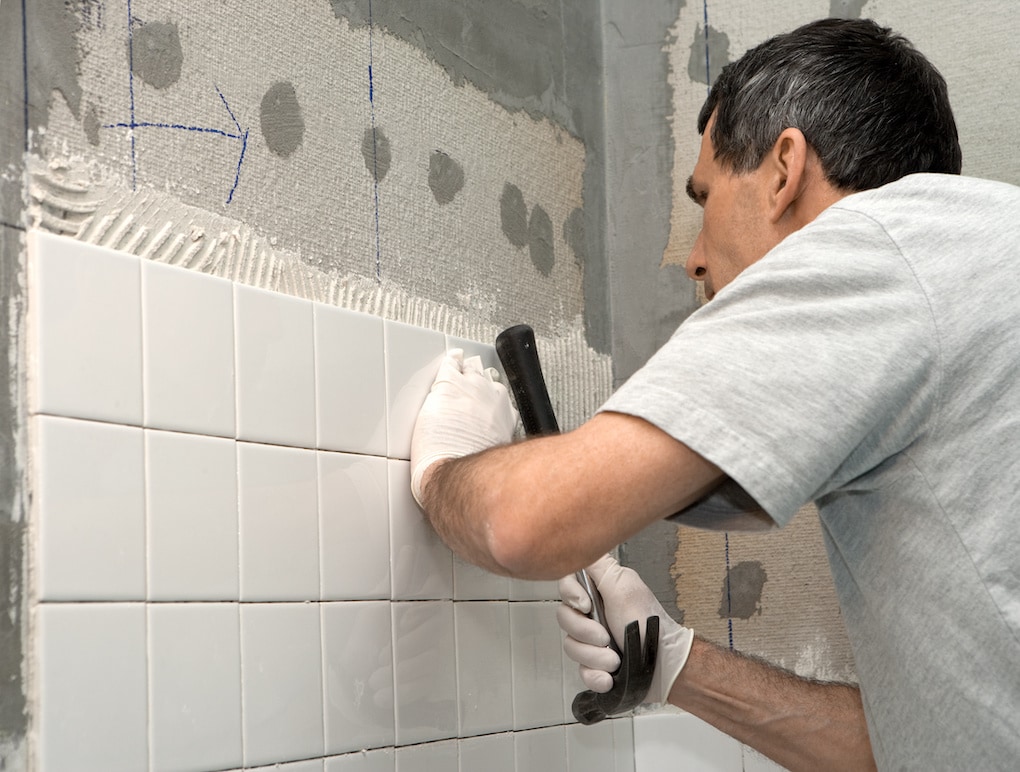
Getting Started on the Remodel
Now that everything is ready, it’s time to start the remodel. Follow these steps to make sure everything goes smoothly:
- Remove the current fixtures
- Gut the bathroom– take out flooring and any old materials you’re replacing
- Add new plumbing and electrical (optional)
- Sheetrock any walls where it was removed
- Add new fixtures: Tub, Shower, Toilet
- Lay the new flooring
- Mud, tape, and paint your walls and ceiling
- Install any cabinets, linens, and vanities
- Install the new lighting fixtures
- Hook up your plumbing and get it turned on
- Clean up and take care of finishing steps
Here’s a more in-depth look at each of these steps.
1) Remove All of the Fixtures: Sinks, Faucets, Toilets, etc.
Be sure to turn off the water before you start this step. You don’t want to turn on the faucet and have water spraying everywhere or disconnect the toilet just to be sprayed in the face!
Start by removing all of the old fixtures–sinks, faucets, toilets, etc. If you’re planning on keeping any of these, be sure to label them, so they don’t get tossed out by accident.
https://youtu.be/KG_w0RiTpvk
2) Gut the Bathroom: Remove the Flooring and Old Materials
Once all fixtures are removed, it’s time to gut the bathroom. This includes removing the flooring and any old materials you’re replacing.
If you’re planning on adding new plumbing or electrical, this is the time to start thinking that way. What needs to be removed so you can easily access it? Also, any water-damaged materials can be addressed during this process.
3) New Plumbing and Electrical (Optional)
New plumbing or electrical is no small task. This can be a big job, so be sure to plan accordingly. If you’re not sure how to do it, or if you’re uncomfortable with the idea of doing it yourself, you should hire it out.
Homeworx or another seasoned contractor would have no problem coming in and helping you complete this step of the project to ensure it’s all up to code.
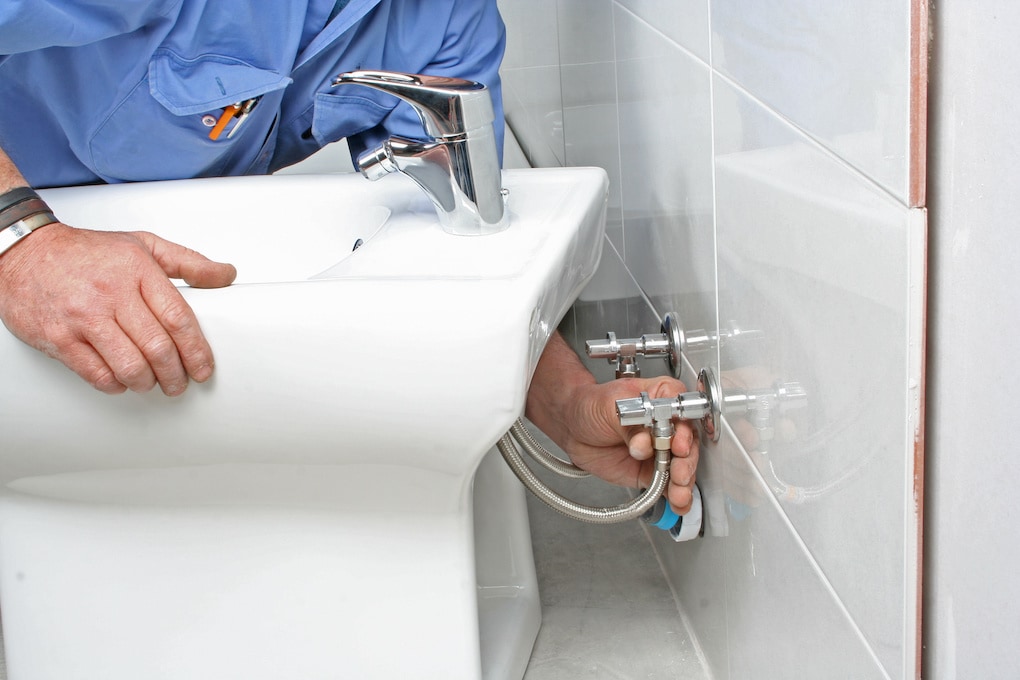
4) Start With Sheet Rocking
Once you’ve gutted the bathroom, it’s time to sheetrock any walls that need to be redone or that you tore out. This step shouldn’t take too long, especially if you’re working with a smaller bathroom.
5) Mudding, Taping, and Painting
After the sheetrock is up, it’s time to start mudding, taping, and painting. This can be a tedious process, but everything must be done correctly.
Take your time and follow this simple tutorial for some useful information on handling this step properly.
6) New Fixtures: Tub, Shower, Toilet
New fixtures are next on the list. You’ll need to get these items installed or in place before you can lay your flooring. The tub, shower, and toilet need to go into place before the flooring.
Vanities, cabinets, and sinks should be installed after the flooring.
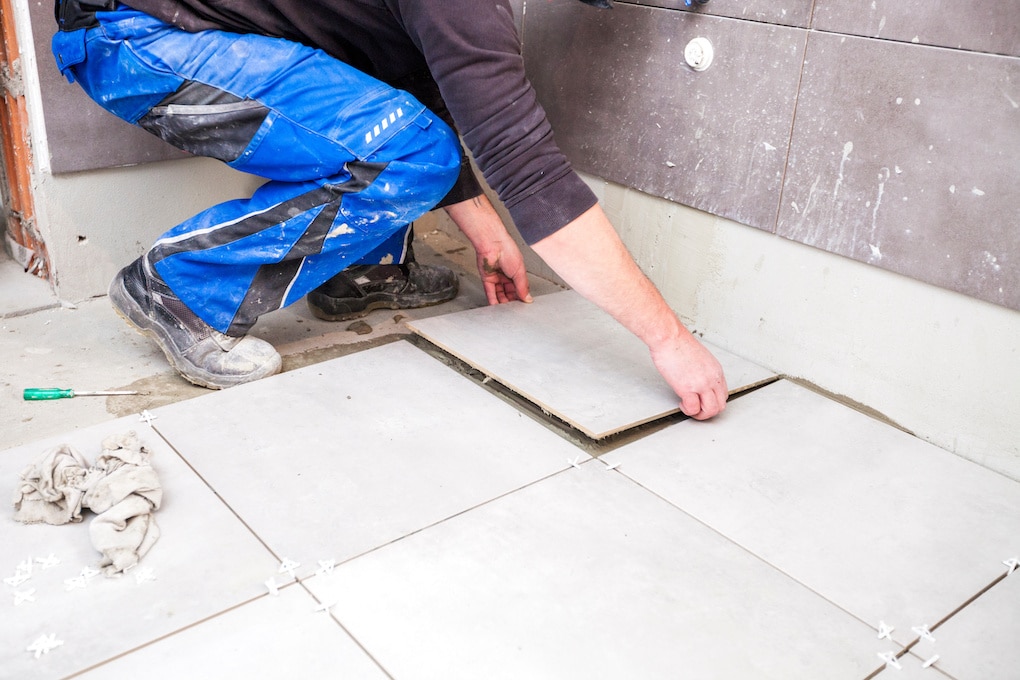
7) Lay Your New Flooring
Now it’s time to lay your new flooring. This can be a daunting task, but it’s not too difficult with the right tools and instructions. Remember that when you’re laying tile flooring, there’s no going back after it’s set up and dry.
Getting it right the first time is essential. Go slow, and it’ll turn out great.
8) Install Cabinets, Linen Closets, and Vanity
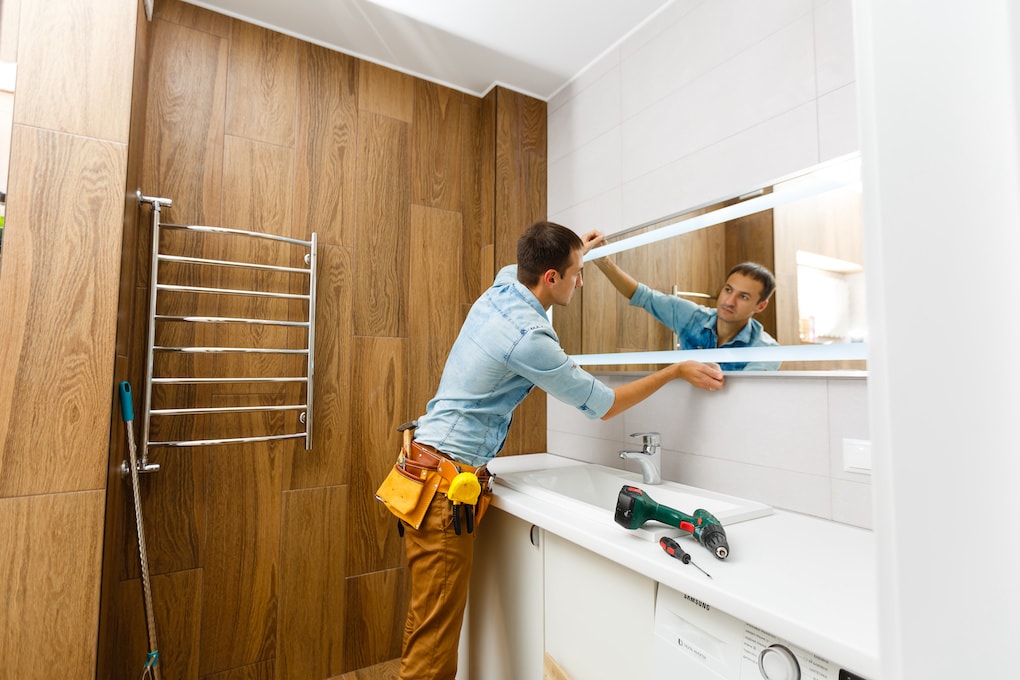
Install cabinets, linen closets, and vanities you may have or want in your new bathroom. You’ll need to wait until the flooring is dry and ready to handle the weight, but after that, it’ll be good to go.
9) Install New Lighting Fixtures
A fun step is when you get to install lighting fixtures. Follow the directions and make sure your power is turned off before wiring anything. The last thing you need is a shock from a hot wire.
New light fixtures are essential when trying to breathe new life and design into a bathroom.
10) Hook Up the Plumbing to Your Fixtures
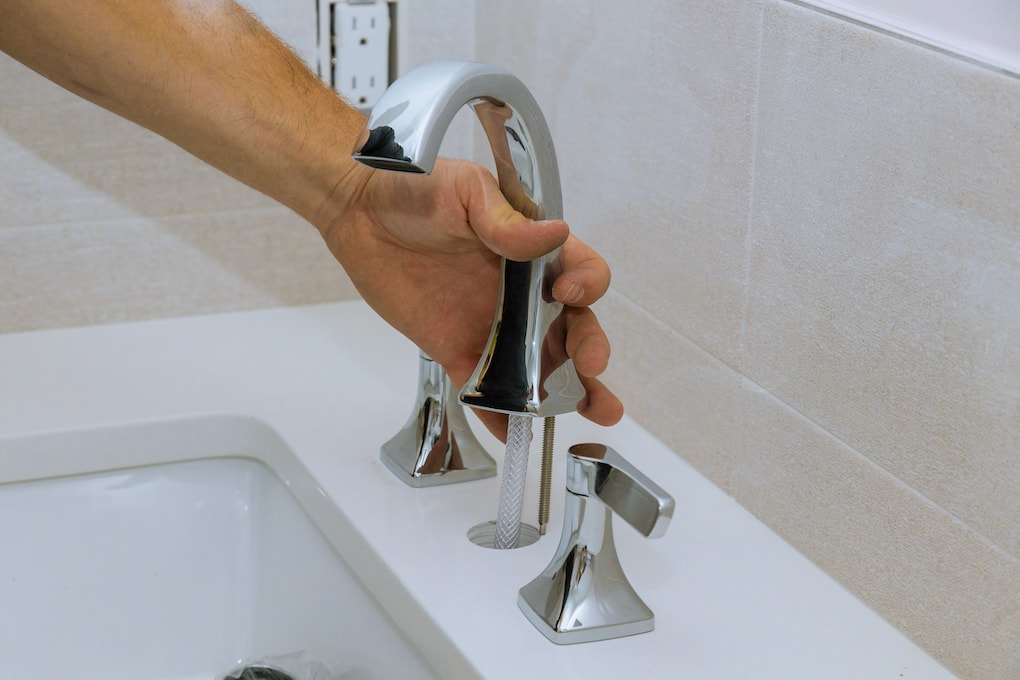
Last but not least, you’ll need to hook up the plumbing to your new fixtures. Most of this will have been hooked up and installed during the fixture installation. But, you may still need to connect your toilet, sinks, and other pieces.
When you’re finished hooking things up, you can turn the water back on and check for any slow leaks.
11) Clean Up and Complete Any Finishing Steps
Last but not least is the clean-up. No one likes cleaning up, but it’s one of the best parts because you get to see all your hard work come to life. Whether that be in the form of decorating, making sure you’re happy with all the work, or just taking a few pictures.
Your new bathroom should be finished and ready to enjoy!
Not Ready for a Full DIY? Hire the Best in the Biz
We want you to be able to DIY a project not just because it’s nice to save money on a remodel but because it’s a fun way to complete a big project on your own. However, if you’d rather take on something smaller to start or just don’t have the time, hiring a professional is always a great option.
Homeworx has a team of dedicated experts that’s ready to step up and give you the bathroom that you deserve and want for your home.
Reach out to our team today for a clear and precise estimate for your project.

![7 Bathroom Design Fails You Won’t Believe [Pictures]](https://homeworxiowa.com/wp-content/uploads/2022/03/bathroomremodelchecklistshower-400x250.jpeg)
0 Comments